Showing posts with label Paper Jewelry. Show all posts

Thursday, June 4, 2020

Newspaper Earrings

I started making paper earrings in college for extra money.  I was seriously into the mixed print Memphis style and I always had colorful painted paper scraps left over from my fashion presentations.  Mind you, this was before computers when you had to cut with scissors, paste with actual glue and use rub-on letters instead of picking a font from hundreds on the internet and printing them out from a home computer!  It's soooo much easier now, but I digress.  This paper mache project is a great way to create something that's sturdy enough for jewelry and light enough to keep your lobes in tact!  Plus, you can paint them any way you want.  Heck, use images, too!  I used my Gel Press for the funky patterns which lent to the unpredictable nature of each earring.  Go nuts with recycled materials, my crafty friends, and always
Make Your Mark! 
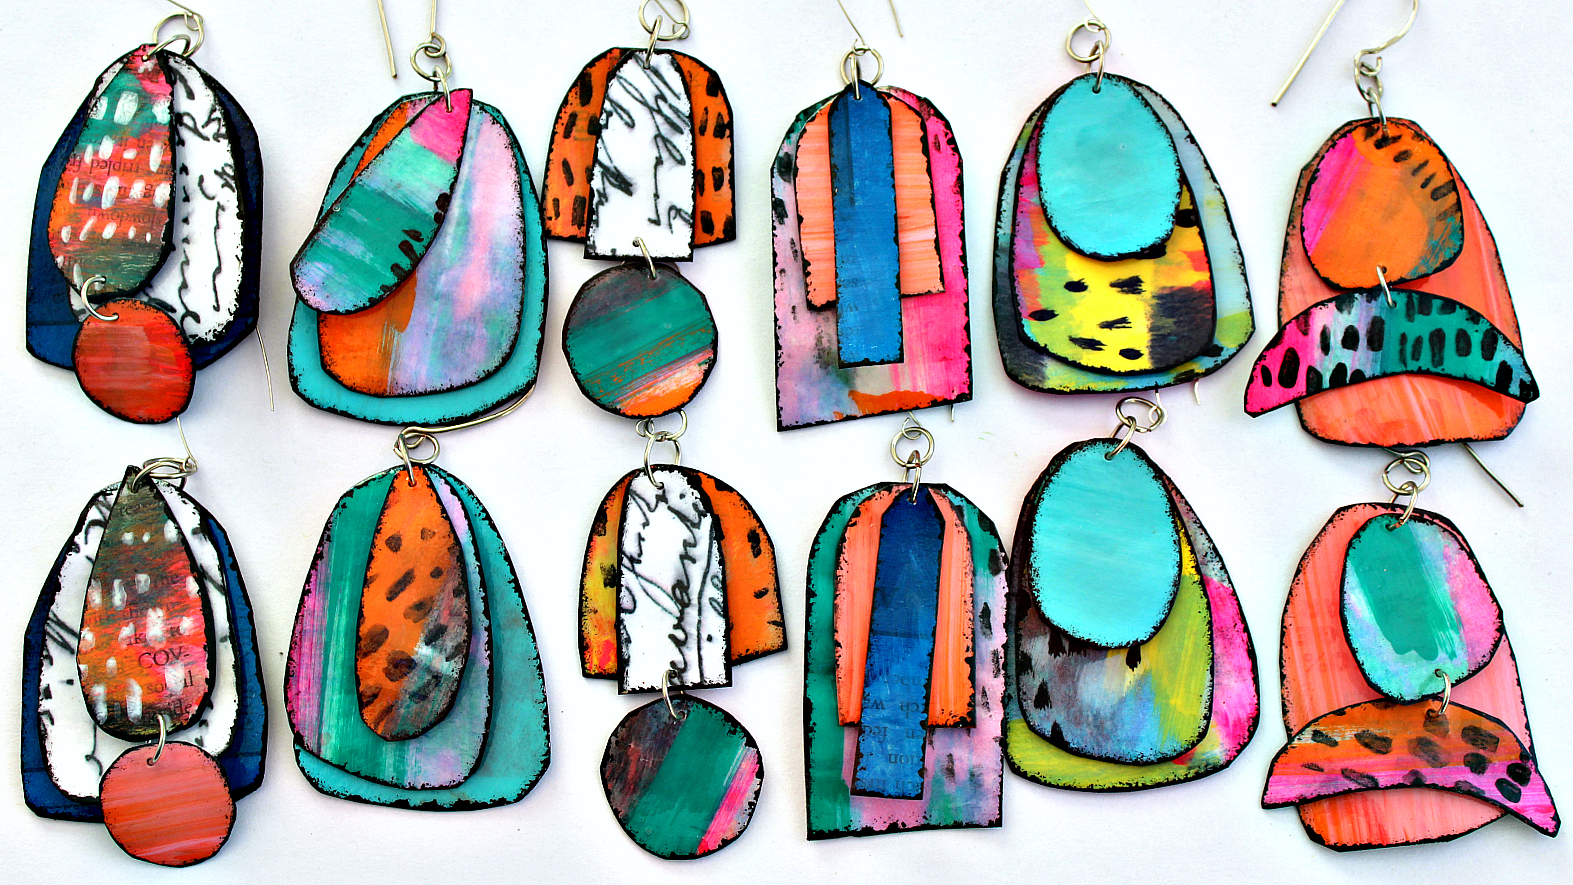
Perfect for putting in an envelope and sending to a friend!
Define the shapes with a cosmetic sponge and some black paint!

5 or 6 sheets of newspaper and your painted page on top
Watch how to make them here OR
Watch the video on my YouTube channel here:  https://youtu.be/brqy2FXAeUQ
Everything I used for this project
Awesome Gel Press Products: https://amzn.to/364hn95 Americana Acrylics: https://amzn.to/2UFQwgQ Triple Thick Gloss Glaze: https://amzn.to/2UIrD4e My favorite hole punch: https://amzn.to/2TCG34P Learn to make paste here: https://youtu.be/3mkrHgiYXG8 MY AMAZON STORE: https://www.amazon.com/shop/markmontano
Ready to assemble
Feeling like a trip to Miami about now!
Extra! Extra!

Wednesday, April 8, 2020

Electric Bracelets - Upcycled Cardboard Craft

This project harkens back to 2nd grade art class (FYI, my favorite class ever) where we took yarn and tinfoil to make awesome works of art to adorn every fridge in my hometown.  Well, at least until the turkey hand project took over.  I kicked this one up a notch for my fresh and funky fashion friends and used aluminum tape and gorgeous Marabu Alcohol Inks which come in fantabulous colors.  The best part about this project, for me, is that I get to upcycle cardboard and make them in all different wrist sizes!  Your waste bin is the best place to find craft supplies, my resourceful friends!  Now get out there and Make Your Mark!
 Serious colorful fun!
 For a fantastic, fashion-y night out!
EVERYTHING I USED FOR THIS PROJECT:
Marabu Alcohol Inks: https://bit.ly/3dcKlrR
SUREBONDER DETAIL GLUE GUN: https://amzn.to/2tJxueL
ALL the SUREBONDER PRODUCTS: https://amzn.to/2Rw5kNt
Aluminum Tape: https://amzn.to/38XjQ6n
DuraClear Gloss Varnish: https://amzn.to/2U0CVkb
Watch how to make them here!
Try using just one or two colors!
 I used stripes, but you could use any design!
I love the nightlife! I like to boogie!

Tuesday, January 12, 2016

Beautiful Paper Rings

If you ever went to summer camp there is a good chance you made a version of this beautiful project.  It's tried and true and always delivers amazing results.  What I love most is the resemblance to colorful agate stones, which is why I turned them in to fun rings.  Just an FYI, I coated mine with varnish and then nail polish, but you could skip the varnish and just use several coats of nail polish to get them nice and sturdy and waterproof.
Remember, have fun, make messes and don't forget to Make Your Mark!
xoxo, Mark
Julie rocking her awesome new paper rings

Try different shapes and thicknesses
See how easy they are to make here!
Stuff You'll Need
Construction paper
Large hole punch
E-6000 Spray Adhesive
Gloss Varnish
Clear nail polish
Sanding block (or sandpaper)
Ring findings
Desk lamp & Wax paper (optional)
1.  Start by punching out about 50 construction paper circles
2.  Grab some E-6000 Spray Adhesive (this makes the process a breeze)
3. & 4.   Glue the disks together one by one until you have a 1/4" stack or thicker
*Alternate the colors and use your favorite colors on the top of the stack
5.  Dry them under a desk lamp on wax paper if you're impatient like I am!
6.  When dry, sand the edges and sides to reveal the different colors
7.  Harden with several coats of nail polish
*This also brings out the color
8. & 9.  Glue ring findings on the back with E-6000 glue

E-6000 is non toxic and easy water clean up.  So much better than the other
spray adhesives on the market

Tuesday, November 24, 2015

Book Bracelet DIY

Not long ago I posted a beautiful book page bracelet on my FB page by the artists Lyske Gais and Lia Duinker. People went a NUTSO-BANANAS asking how to make one, so I did a little research and came up with a way to make something very similar.  FYI, Lyske and Lia's bracelet is bound like a real book which probably took them weeks and weeks to complete.  My version is a little less time consuming to create but it still took a while!  My suggestion is to hunker down in front of a good movie or two while you're preparing.  As always, have fun, be creative, make stuff!  
xoxo, Mark
You'll need tons and tons of tiny pages.....Did I say tons?  I meant TONS!
Don't forget to make your favorite book cover for the ends!

Not that's a big ass book bracelet!
See how it's put together here!
Stuff You'll Need
Leather
Scissors
Velcro
E-6000 Glue
Copied and reduced book covers
Cereal box cardboard
Clothespins
Book pages
Ruler
White glue
Cut a long strip of leather that is 1 1/4" wide and 1" longer than your wrist measurement
Mark 1" at the end of the strip
Cut at least 500 mini book pages that are 1 1/4" x 2" 
*You will be folding the 2" pages in half creating a 1 1/4" x 1" book
Fold 10 pages at a time to get the crease
Line them up one by one and hold them together with a clothespin
*You'll need as many of these as it takes to circle your wrist
Add E-6000 glue to the folds and glue them on the rough side of the leather
Keep pages upright with a wood block on each side so the dry properly
Keep glueing book pages along the entire strip except for the 1" at the end
Cut a 1" x 1 1/4" piece of cardboard
Glue your book cover to it to create a mini hardcover for the bracelet
Glue the covers to each end with more E-6000
Add Velcro on the 1" overlap to close the bracelet once it's filled with book pages.
Julie rocking her book bracelet!
The original by Lyske and Lia.....Just beautiful!