I seem to have a plethora of plastic jugs every month and I finally decided to cut them up and see what I could make with them. It's been an adventure for sure! Since I love making jewelry it was the perfect place for me to start and the cuff base I made could be used for 100 different jewelry making projects! For my first use I paired it with some colorful Sulky threads and went all out with embroidery. You don't have to be particularly skilled to embroider these, just repeat the same stitches around the cuff, change the color and keep going! Happy upcycling my amazing friends! Now get out there
and MAKE YOUR MARK!
Who da thunk these started as plastic jugs!
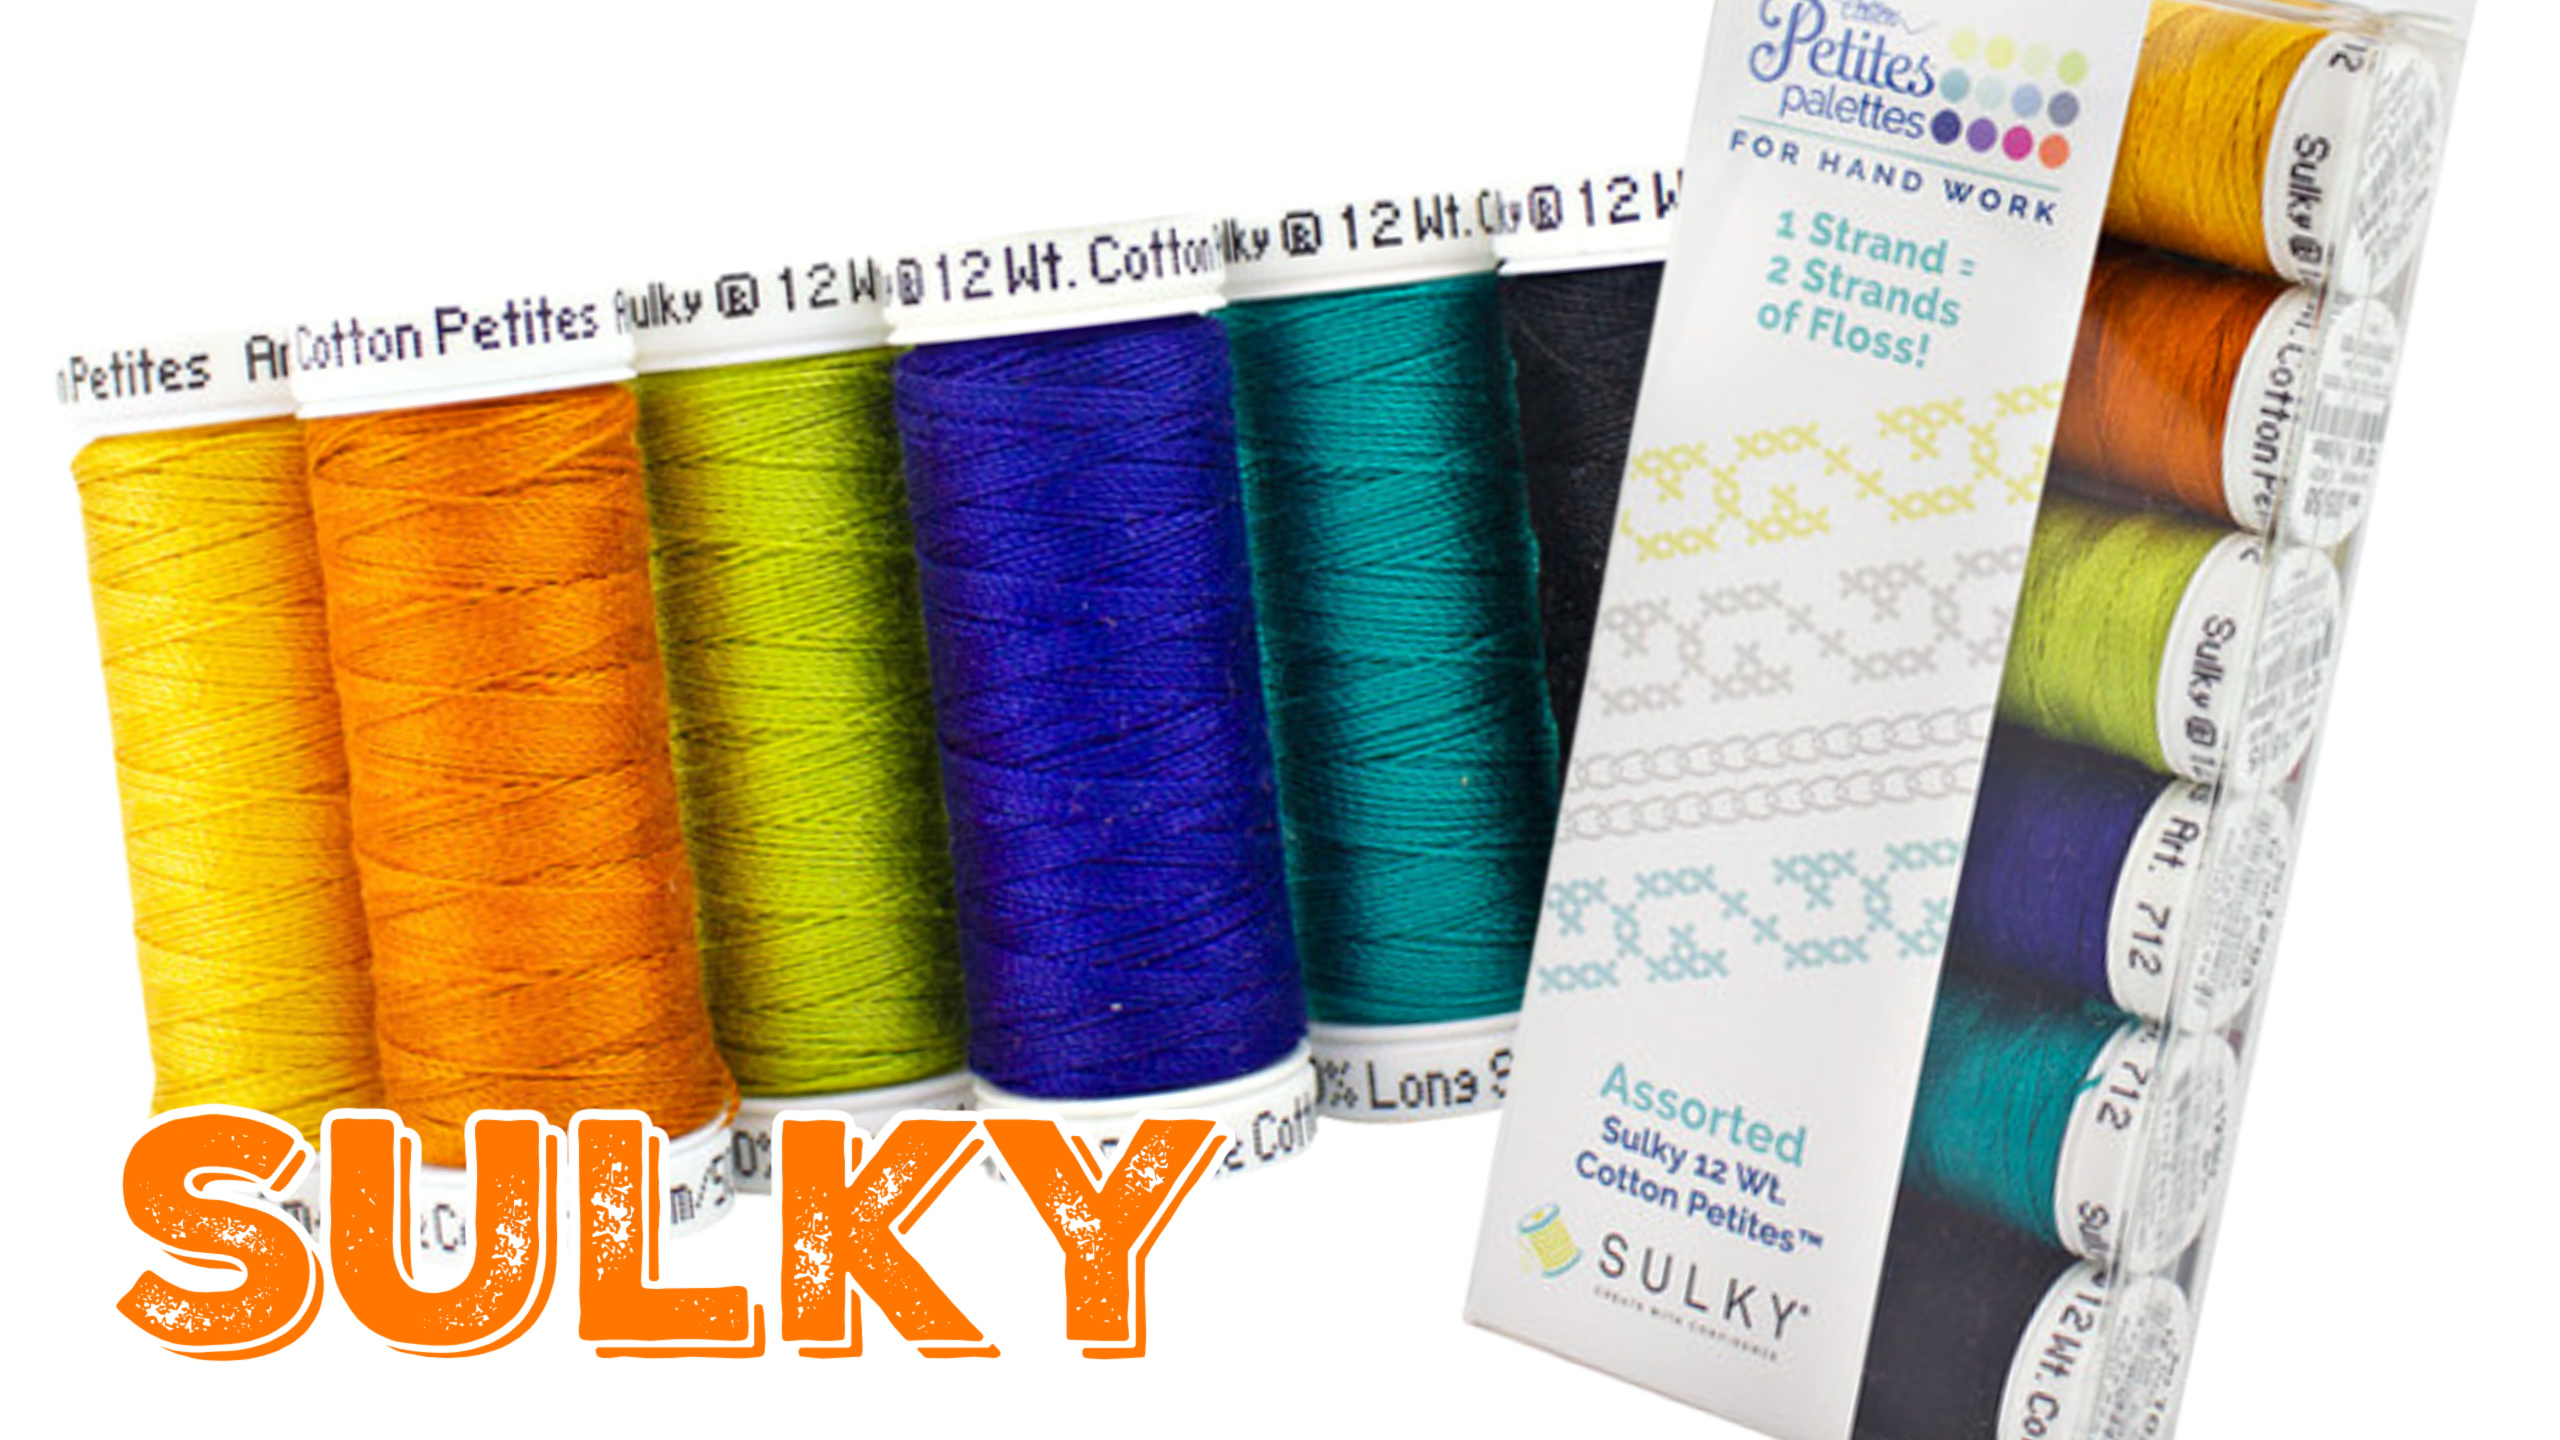
Sulky Petites come in awesome colors....you can buy them separately, too!
Here's how it starts. Watch the video to see how I make the cuff base. It's easy, once you know the secret!
Watch how to make these top to bottom here!
Follow me on Instagram if you're there...I'm at TheMarkMontano
Use any combination of stitches and colors!
There's something about making something from nothing...
Sending you all sew much love! XO, Mark
Thursday, May 11, 2023
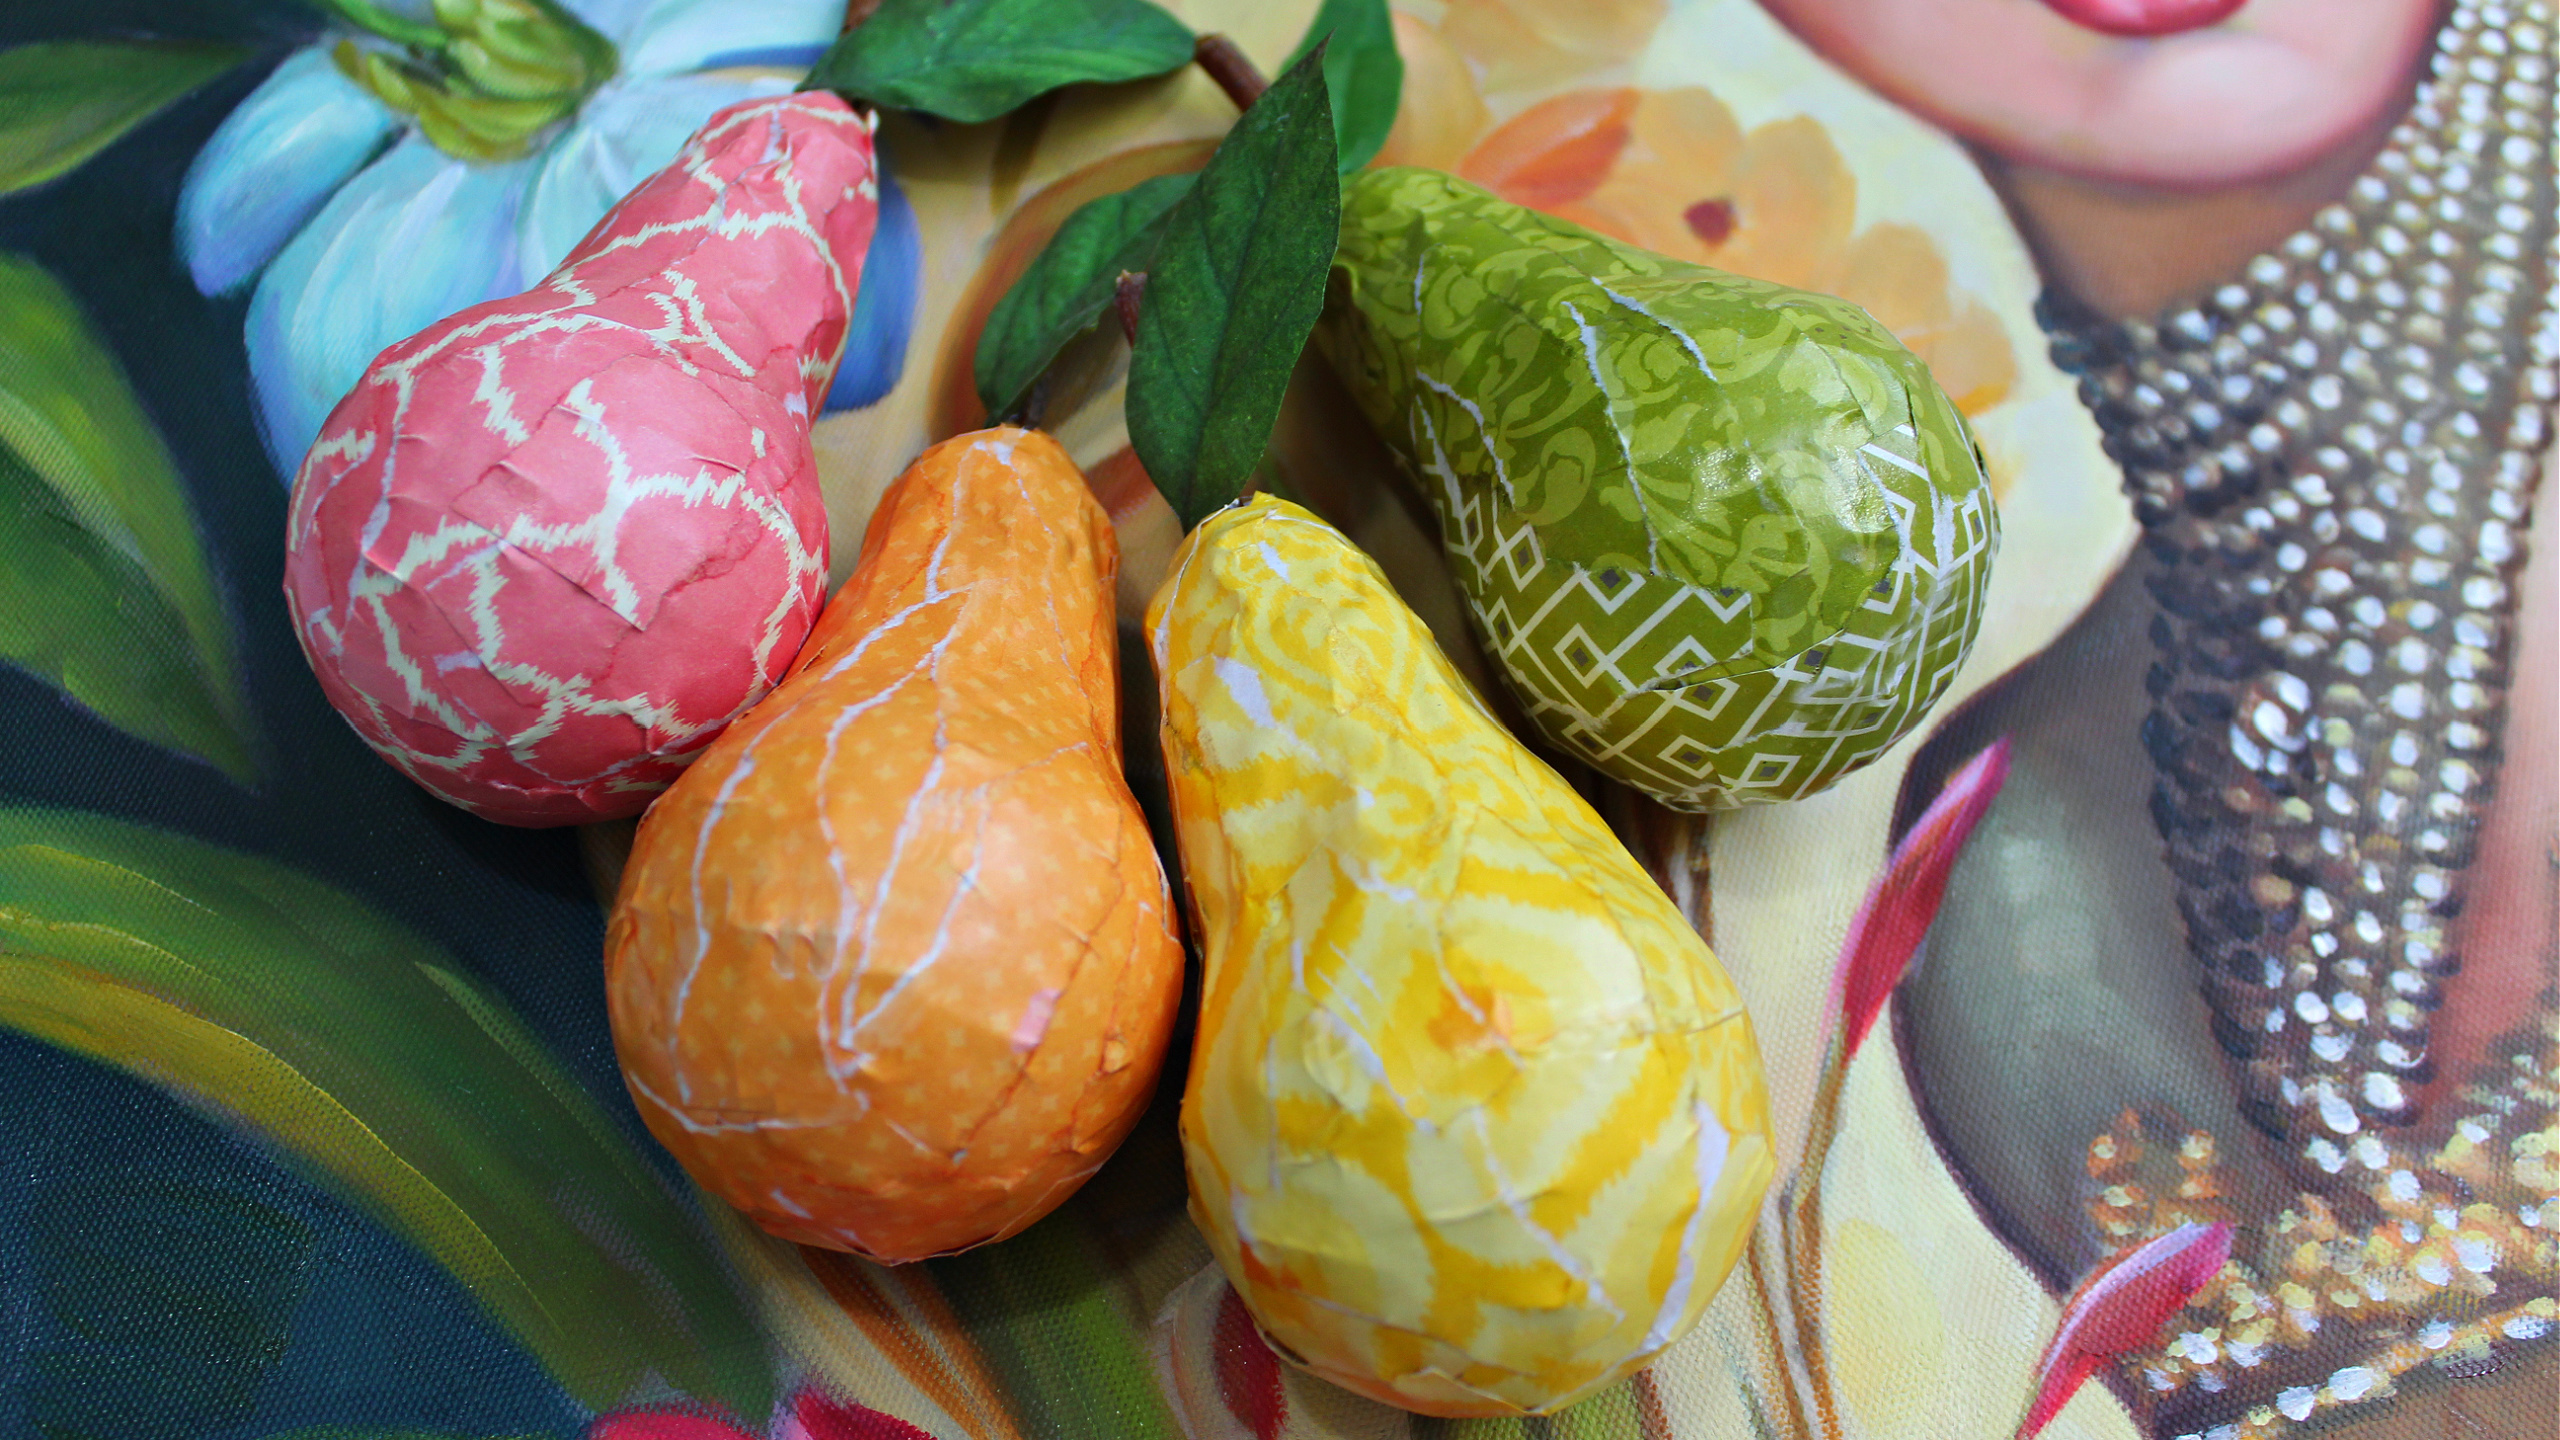
I save everything...envelopes, newspaper, cardboard tubes, plastic & glass containers and burned out light bulbs. I boarder on hoarder BUT I do try to use everything I save in my craft projects. These pears were my desperate attempt to use up a few of the bulbs I have been saving over the years and I'm so happy with they way they turned out. When I was finished I thought of 100 other ways to decorate them, but that's for another day. Upcycle, recycle and reuse as much as you can my awesome friends! Now get out there and Make Your Mark! xo
I used decorative paper but book pages would look beautiful, too!
Some of my decorative papers
The foil helps smooth out the screw thread area but it's not 100% necessary!
Watch how I make them here! I used a Xyron Creative Station which turns everything into a sticker, but regular white glue would work, too. I find my Xyron makes it easier and less messy!
I drink coffee like it's a form of oxygen...I love the stuff. I NEED the stuff! I started loving the smell and taste when I was about 10 and my gram would make me a very light cup (mostly milk) with sugar. I felt like such a grown up. Honestly, I'm pretty sure it was Sanka. These days I'm so strapped for time I drink Nescafe House Blend instant and I have no shame in that game. It's delish. Also, the jars are fantastic for my craft projects. This instant coffee jar makeover uses things we all have like tissue paper and hot glue. The images were printed on my home computer, too! The key is sealing everything with lacquer when you're done. This will keep them in great shape! Upcycle, my sweet friends, and always
Make Your Mark!
My gorgeous new button jars!
Tissue paper is my first layer and a great way to add bold color!
I'm hosting another POSTCARD SWAP! I hope you'll join our artists from all over the world who are exchanging stacks of 10 for 10. I've posted the rules below.
Join our international POSTCARD SWAP! The theme for this swap is UPCYCLED, LAYERED & COLORFUL! Use your imagination!
*THE FIRST 40 PEOPLE WHO SIGN UP (and send me a screen shot of their paid participation fee AND their mailing address) GET A 5" X 7" GEL PRESS!
To be eligible you must send a screenshot of your paid participation fee to me at MarkMontanoNYC@aol.com with (GEL PRESS CONTEST) IN THE SUBJECT! Please include your mailing address in the email. We are going to try to get these out quickly so you can use them for your cards if you want! *Contest opens at 7 a.m. PST Friday morning, September 25th, so entries before that won't be considered BUT you can get everything prepared beforehand to email me at that time.
UPCYCLED 4" X 6" MIXED MEDIA POSTCARD SWAP RULES:
1. There is a $10 fee to participate in the swap in the US and $15 if you are participating from another country.
This covers the cost of envelopes, organizing with my assistant, packing and 1st class postage (with tracking) for sending the postcards back to you.
Please use my PayPal.me account here: paypal.me/MarkMontanoDIY *Use the FRIEND TO FRIEND option when sending the participation fee.
2. Postcards are to be 4" x 6" in size (no smaller or larger) and no thicker than 1/8". Create any kind of art you want! Make them colorful, sparkly, upcycled and something you're proud of.
Deadline is November 15th, 2020 meaning cards need to be here with me by November 15th.
3. Everyone submits 10 cards and gets 10 different cards in return. If you want to send 11, that's GREAT! *On rare occasion a card is destroyed in shipping OR a participant's cards get lost in the mail and arrive late...I keep sets of cards for them as well just in case and an extra is always appreciated.
4. Please sign your postcards on the back so people know who made them and include a social media handle so that you can make some new friends! You could also clip a business card to each postcard. Just let your new friends know who made it.
5. Make sure that you print your return address CLEARLY so that we can easily address your package and get it back to you without a problem. We ship everything in 6" x 9" manilla envelope. If you want to enclose a return envelope, that's awesome, too!
6. Please (try) to use an upcycled material like cereal box cardboard, newspaper, phone book pages, thin corrugated cardboard, magazines or old book pages. Whatever you toss out that can be incorporated!
7. Please put 4" x 6" pieces of wax paper between each card so that they don't stick together. Sometimes heat and humidity during transit can cause some paints to stick together. Wax paper will insure everything is pristine.
8. Send postcard packages to my studio: Mark Montano 2126 Cove Ave. Los Angeles, CA 90039
9. Deadline is November 15th, 2020 meaning cards need to be here with me by November 15th
These lanterns have been hanging in my kitchen window since I photographed them for this DIY and I have to say, they bring me so much joy...You have no idea. When I get up late at night for a glass of water, they give off the perfect peaceful glow. The beads catch the light in the sweetest way both during the day and at night, too. I know that some of my projects are a bit more involved than most DIYs that you find out there, but there are often ways to improvise if you don't have everything I do...Ways that might make the task at hand a bit easier for you. Do your best, my sweet friends, and stay creative during these difficult times. And like I always say, get out there and Make Your Mark!
I hoard jars. There, I said it. I can't help it. They're way too useful and perfect to use in many of my DIY projects. When I got my cup turner last year, I decided that it wouldn't just be for making tumblers...I mean, how many darn tumblers to you need anyway? I started experimenting with all kinds of vessels and jars just made sense. Coupled with the Marabu Alcohol Inks and a little resin, these jars became the most beautiful containers for plants, pencils and battery operated tea lights. They even sparkle at night! Upcycle everything, sweet friends, and always Make Your Mark!
Have a stack of magazines? Need a quick bouquet for a special occasion? These paper flowers are just the ticket! A little folding, cutting and gluing and you'll have a bouquet that will be sure to make an impression. Watch the video below to see just how they're done. Spray with color to match your decor OR pick colorful magazine pages and see what happens. I added some glitter to mine to make them even more special. Use what you have, my sweet friends, and always MAKE YOUR MARK!
I spray painted these with shimmer misters from DecoArt, but you could
just use colorful magazine pages!
Much like glass jars, I also save tin cans. If you have any doubt in your mind, I do have hoarder tendencies! This leafy chandelier definitely needs some beads and crystals but even in this simple incarnation, I love the way it looks. The shadows it gives are magical! Now, lots of folks are scared of cutting tin, and though it can be sharp and scratchy, just pop on some cheap gloves and you'll have nothing to worry about! Also, make sure to use tin shears that cut with a serrated edge. This keeps the edge of the tin dull so you can't cut yourself. Give everything a second life, my amazing-creative friends, and always Make Your Mark!