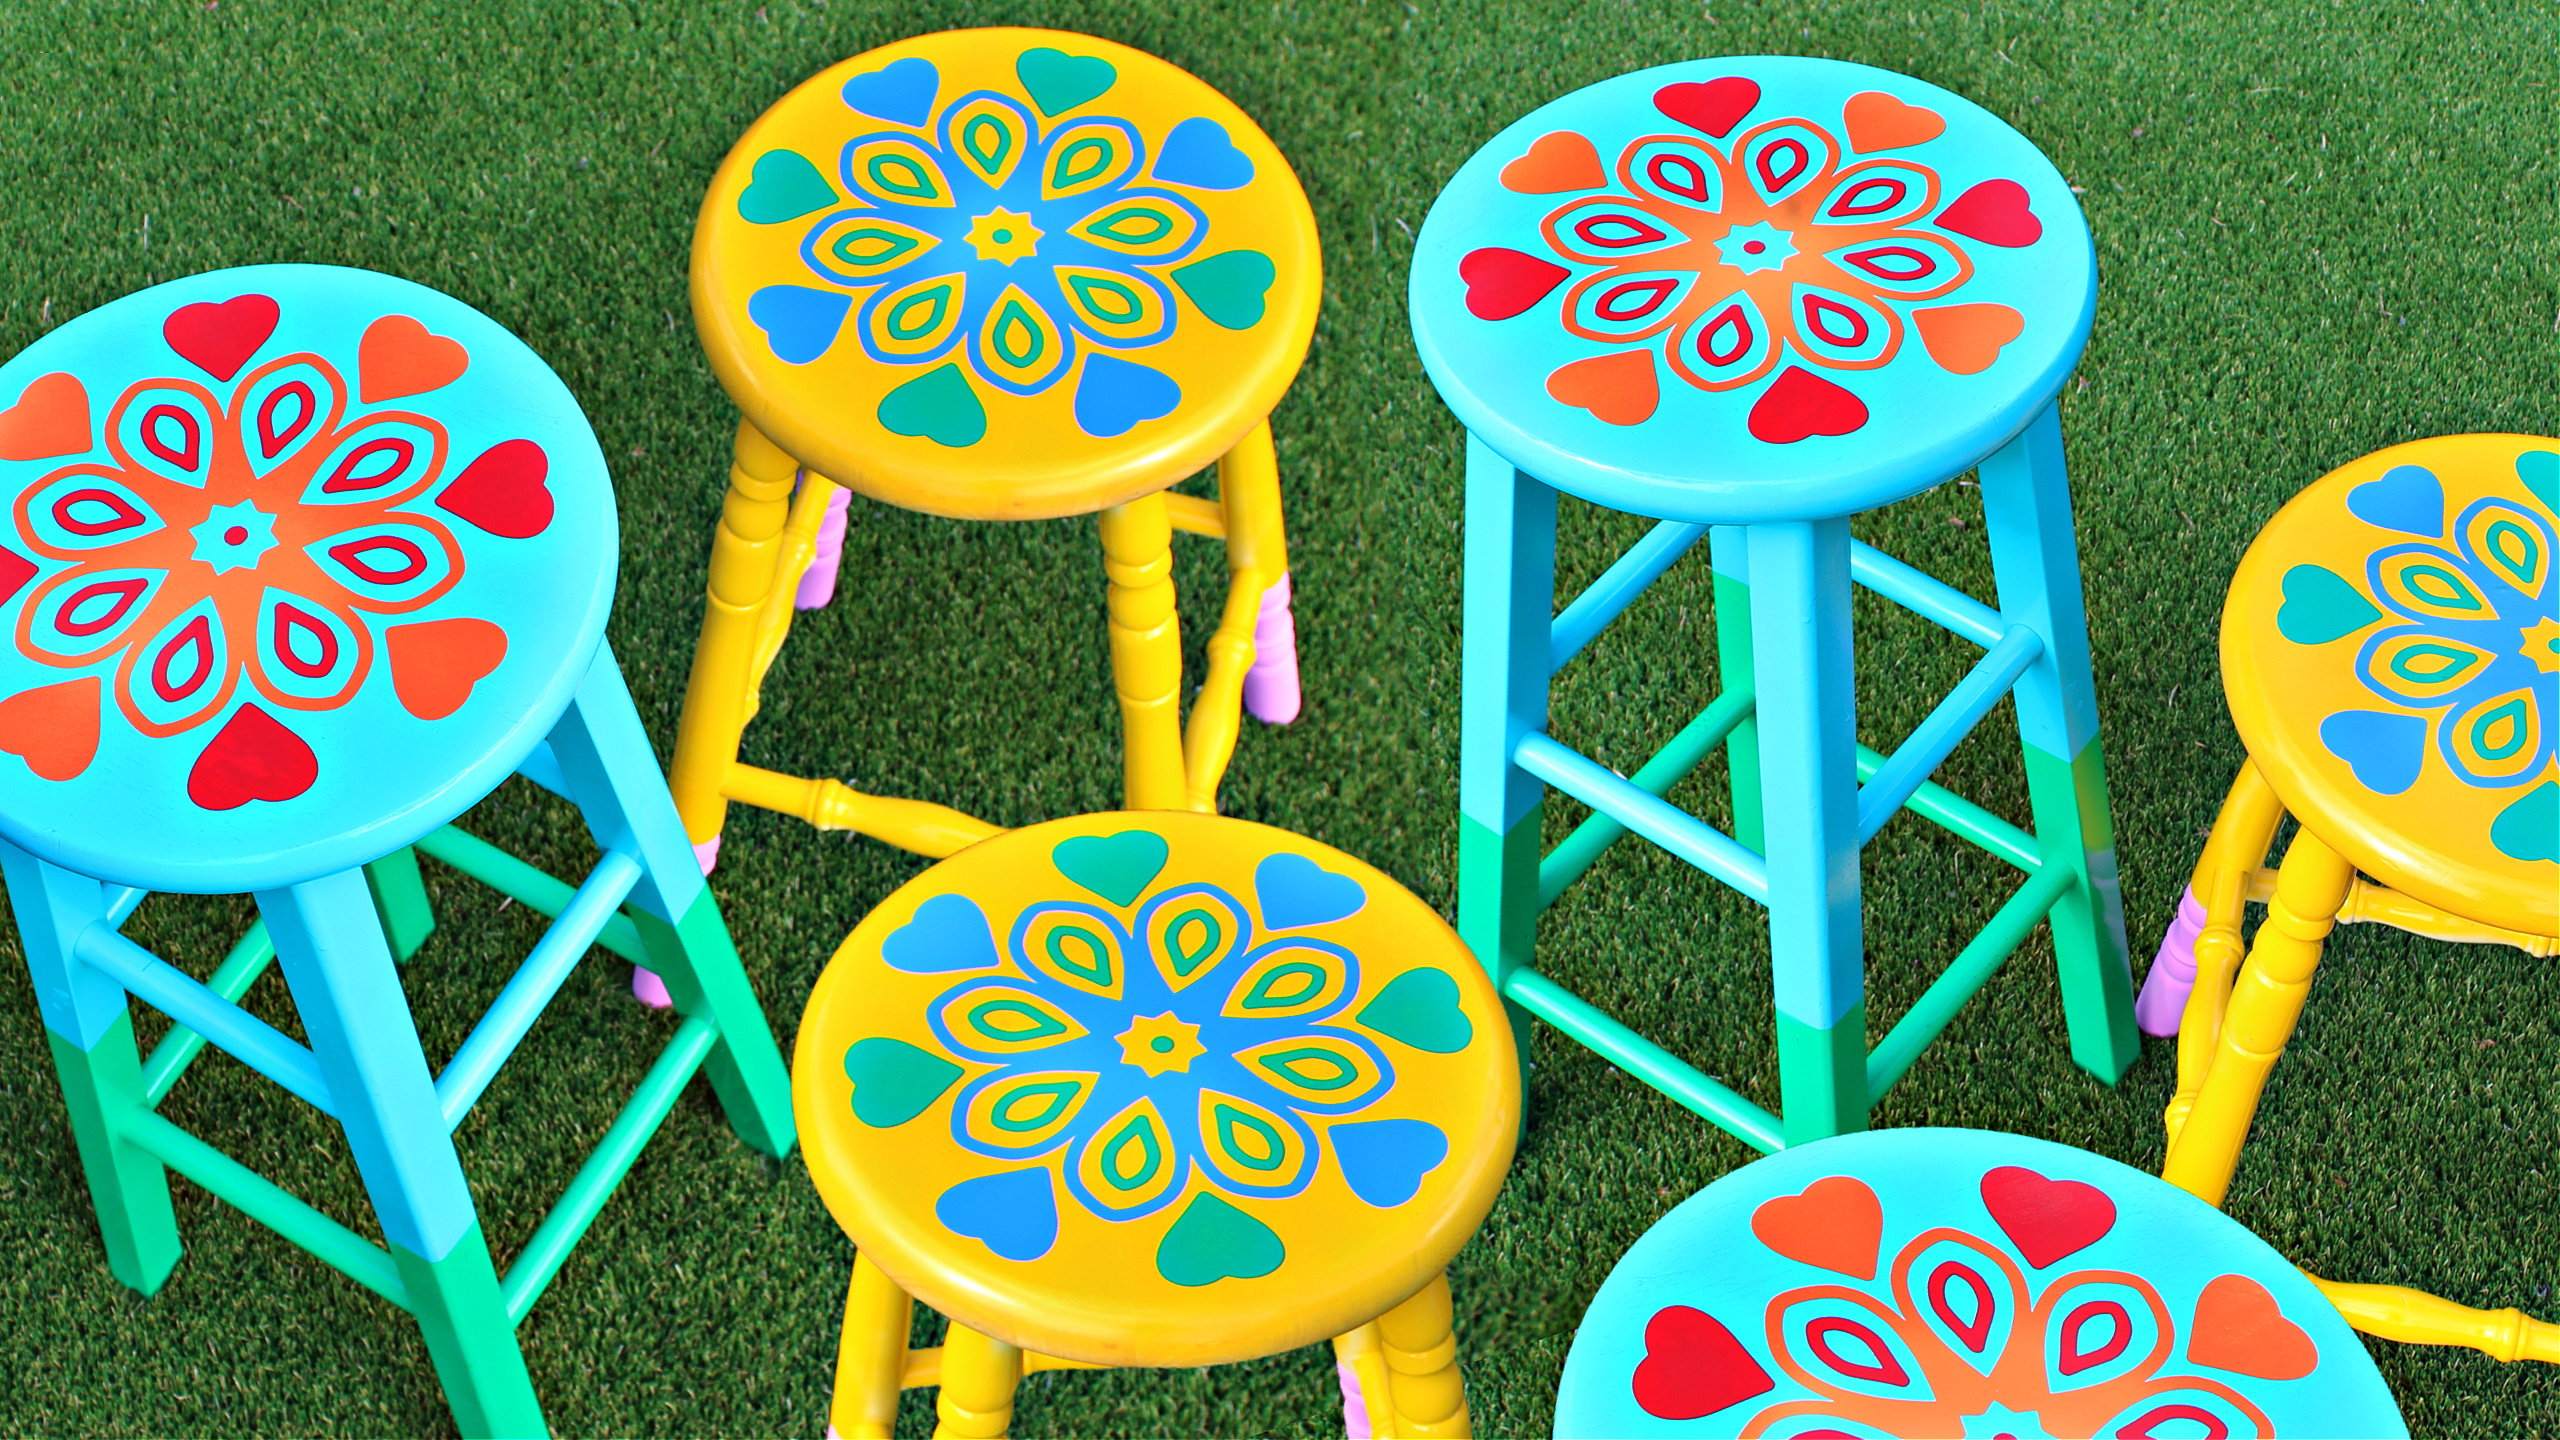
Painted or stenciled, you can have some extra summer seating for a song with a few thrift store finds. I grabbed these for $5 each and I love how they gave life to my back patio. Love it! I used my Cricut and permanent vinyl to make the designs BUT you could just paint and stencil, it's up to you. Just have fun, use lots of color and MAKE YOUR MARK!
Watch how to make them here!
This Ryobi sander saves my life EVERY day! Make sure to give your seats a good sanding before you begin. Trust me on this!
I mixed two colors together for the seat, but one is fine, too!
I'm obsessed with the printed wooden chairs at Anthropologie! They're just beautiful.....and, well, a little too expensive for my ever changing decor budget. As usual, I decided to see if I could make my own set with a fabric of my choice. Grab some E-6000 Fabri-Fuse, some thrift store or Ikea chairs and a fabric print you love and you've got yourself some amazing seating! Follow the directions in the video below and you're good to go. As always, if you can't afford it, try making it! Oh, and always Make Your Mark.
Sitting pretty!
Garden party
The original Anthropologie chairs that inspired this project
Do you ever just pull over to the curb and check out a pile of furniture ready for the heap? I do it all the time! I've found some amazing pieces casually tossed out by people who were moving, redecorating or just plain tired of something that was in great condition. These discarded pieces are the perfect canvas for every crazy idea I want to try...because they are free. Free equals fearless in my book! This chair looked so sad outside of a local law firm in my neighborhood and I had to bring it home just to play around with some new techniques and to see if I could change the vinyl up a bit. It's not totally my style, but I'm still pretty happy with the results. Don't be afraid to dumpster dive and always try to Make Your Mark!
Handsome and ready for a change!
Light blue vinyl...Why not?!
Learn my techniques here!
STUFF I USED
An old vinyl upholstered chair
DecoArt Patent Leather Paint in Turquoise
Americana Decor Stencils
Americana Decor Chalky Finish Paint in Keepsake and Bestow
Americana Decor Light Satin Varnish
Americana Decor Metallics in Vintage Brass
HERE'S HOW
*Before you start make sure to remove all dirt and dust
1. Paint the leather with DecoArt Patent Leather in Turquoise
2. Paint the wood with chalky finish in Keepsake
3. Coat the chalky finish with Light Satin Varnish and let dry
4. Paint over the details with chalky finish in Besto
5. & 6. Wipe away the Bestow before it dries with a rag to expose the details
*The Bestow will fill in the cracks and highlight any details & creases
7. Stencil the seat with Vintage Brass
8. Stencil the upper part of the legs with more Vintage Brass
Have a seat!
I may put this back in front of the law firm where I found it.....Just to see if they will love it again!
I decided to go a little nuts with this project just to see if the new DecoArt Patent Leather Paints were up to the test of a pleather chair! Guess what? They worked perfectly! Many people have this style of chair and these paints are perfect for adding a little color without cracking, peeling or scratching. I even show you how to add trim to vinyl with hot glue so that it doesn't fall off! Remember to add spice to everything, rethink boring objects and always Make Your Mark!
From plain Jane
To tribal inspired!
Watch the video here!
STUFF I USED
Pleather dining chairs
Americana Decor Stencil and Satin Enamels
DecoArt Patent Leather Paint
Cosmetic sponges
Fringe and Ribbon
Hot glue gun
HERE'S HOW
1. After you secure your stencil in place with tape, dab some Patent leather on a cosmetic sponge
2. Carefully and lightly add coats of the paint over the stencil to insure clean lines
3. Tape around the leather/pleather part of the chair to protect it while you paint the legs
4. Paint the legs with Americana Decor Satin Enamels in the color of your choice
5. Pencil on the chair where you would like to add ribbon and trim
*I penciled along the back of the chair and around the seat to insure the trim was evenly glued
6. Using sandpaper, scratch the area where you will be gluing the trim
*Make sure you're certain where you will be applying the trim and rough it up!
7. Hot glue the trim along the lines on the rough areas moving quickly
8. & 9. Glue the fringe first (below the line) and then the ribbon over the top of the fringe
It was seriously time to overhaul my patio chairs! They had been out in the sun and rain for 3 years and even though I love the distressed look, this was way too much. I'm sure in 2 years they'll look totally different, but for now, I'm seriously happy that I didn't have fork over the dough to buy another set. A little paint and plywood and I get to enjoy these for a few more years. BTW, you can use this technique on almost any thrift store chair. Toss on a cushion and you're good to go.
Remember, make messes, have fun and Make Your Mark!
I wasn't completely sold on the pink, but I promised myself some color this year!
1. & 2. Press butcher paper around the seat to make a pattern and then cut on the creases
3. & 4. Trace the pattern on 1/4" thick plywood, cut out and sand
5. Paint the plywood in Everlasting (white)
6. Starting in the exact center, create stripes with masking tape
7. Paint over the edges of the masking tape with more Everlasting
*this technique insures that your stripes are PERFECT
8. Slowly remover the masking tape when the paint is almost dry
9. Paint the chairs (I chose Reminisce and Victorian)
10. Nail the seat to the chairs
11. Seal everything with Americana Decor Light Satin Varnish
12. Paint on and wipe off the Golden Brown Crème was to give an aged and distressed look and then seal with a bit more varnish to help protect from the elements
Yup, you heard me! Miriam Webster defines Upholster as "to put a covering of cloth, leather, etc., on (a piece of furniture, such as a couch or chair). Well friends, that's exactly what I did with this boxy dining room chair that almost everyone I know has a version of. OK, maybe Americana Fabric Decoupage didn't exist when they wrote the definition, but I'm going to compose a persuasive letter to old Miriam and see if we can add a little side note! This process works on vinyl, leather and smooth fabric covered chairs. Just make sure you use a generous amount of the decoupage so it becomes "part" of the existing fabric. Choose cotton with big, bold patterns that you can cut out and arrange to fit the shape of your furniture. Remember, have fun and make messes!
This week you can learn everything from how to upstyle a basic chair to how to make BBQ sauce! You can even make silicone molds with simple supplies from the hardware store!
If you're heading to a big body of water this summer, you'll definitely want to make some snazzy chairs to mark your spot on the shore! These are basic beach chairs that sell at Target for 8 dollars each. With a little paint and trim, I turned them into the best seat on the beach! Use any motif from starfish to your initials. It's up to you. Just make sure wear sunblock, OK!
Not headed to the beach? Make them for the back yard and turn on the sprinklers!